
IHS Laboratory:
Swimming Pool - Water Sample Collection Guide
Carry separate sample collection bottles for Pool Water Chemistry (PWC) and for Pool-water Bacteriological Analysis (PWB). Note that there is a difference in preparation of the two sample collection bottles and the sample collection method, as described below.
A. Scheduling and Preparation:
-
When to collect a sample?
- Collecting samples soon after adding of chemicals to the pools would show higher levels of the added chemical which may not be representative of the chemical parameters of pool water to which most bathers are exposed. The time taken for the chemical profile of pool water to stabilise depends on size of the pool, nature and formulation of chemicals added. As a rule of thumb, allow at least a day to pass. In other words, avoid testing and collection samples on the same day on which chemicals are added.
- Rain affects pH and alkalinity of pool water. Hence, avoid testing and collection fo sample from pools, while it is raining or immediately thereafter.
- Samples should be collected during the time of maximum bather density. However, testing operations should not be intrusive. Select a time during the period of high bather density, that would be least intrusive. Inquire with the pool operator(s) about daily pattern of bather density and schedule sample collection program accordingly.
- Wash your hands before sampling to avoid introducing bacteria from hands.
-
Preferred zone for sampling:
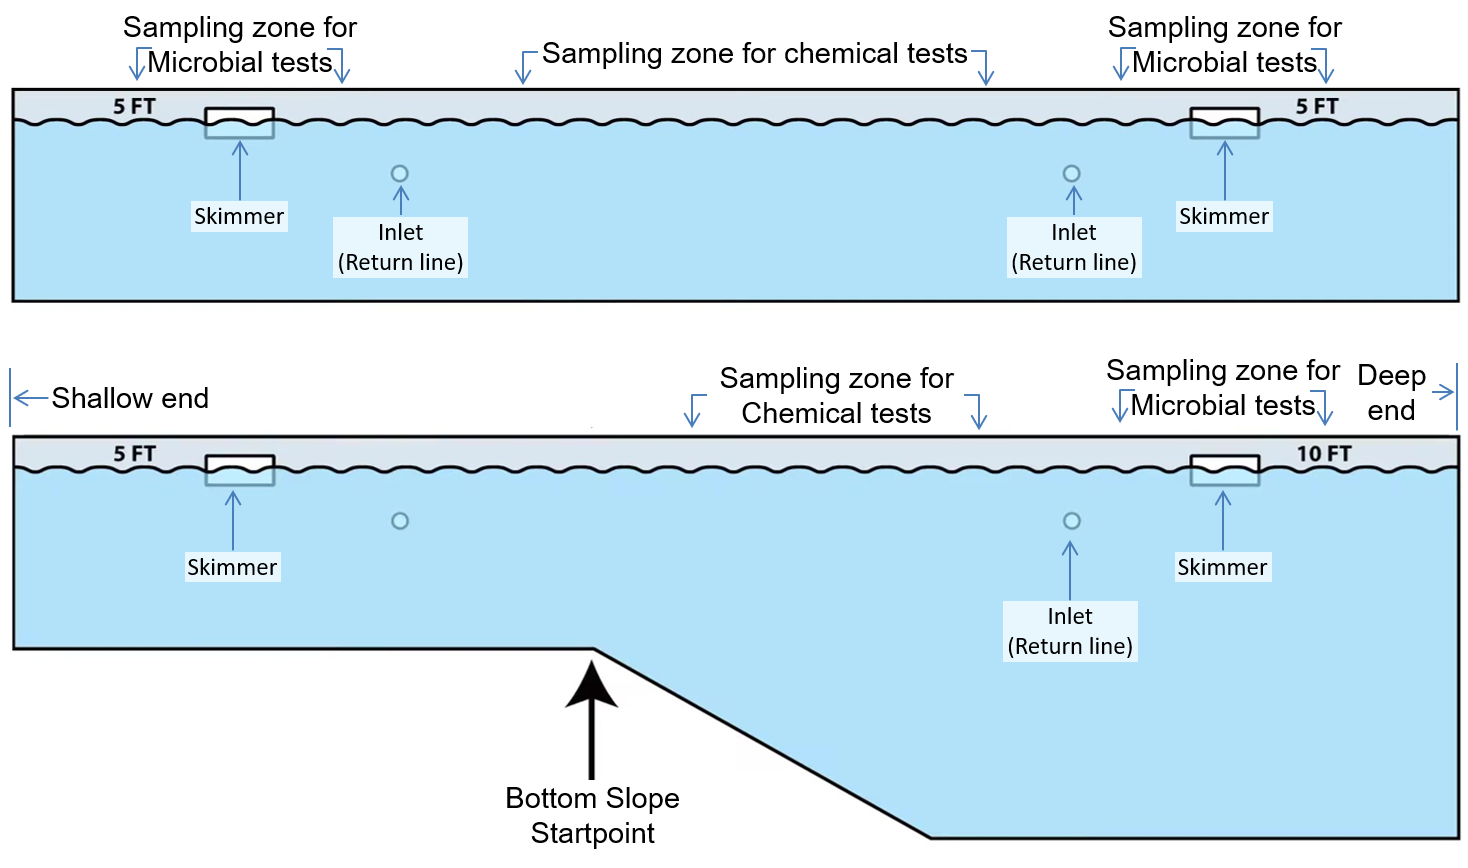
- Note the preferred sampling zone depends on the nature test for which sample is to be taken. Samples of microbial tests should be taken around the skimmers to maximise the chance of detecting microbial contamination, if any. For chemical tests, both pool side and in the laboratory, samples should be collected from main body of pool water to maximise representativeness of the sample for estimation of chemical parameters.
- In case of pools with uniform depth, select a zone around mid-point. If the pool has a shallow and deep end, identify the point where the bottom of the pool starts to slope towards the deep end. For pool side testing and sampling for chemical quality of pool water, prefer a zone in-between the point where bottom of the pool slopes down and the deep end.
- Identify location of inlet (return jets) and avoid areas near them. As the water coming from return jets would have higher levels of chlorine, pH and salts, samples taken close to the inlet points would not be representative of the pool water. Higher chlorine levels in vicinity of return jets would also mask bacterial contamination if any. Hence, find a location away from inlets. Also avoid dead zones like a corner, or steps.
- Once a sampling point has been identified, it’s generally best to be consistent about taking water samples from this point. This is so you can identify patterns and trends from the test results, i.e., disinfectant levels increasing or decreasing from test to test. If you were taking samples from different points every time, patterns and trends may not be identified. However, on a periodic basis, it can be beneficial to take samples take samples from various points around the pool to check that your regular sampling point is still representative of actual pool water conditions.
- Do not take the samples for routine testing from the sample point on the monitoring system in the plant room. This sample point is not intended for this purpose (it’s for calibrating the sensors in the monitoring equipment against a sample of water taken from the same location on the system as the sensors).
 Source: Labels added by the Institute of Health Systems on basic sketch snipped from ‘How to take a pool/spa water sample’ in Taylor Technologies Inc. video archive, https://www.taylortechnologies.com/en/page/231/k-2006-complete-kit-with-fas-dpd accessed Aug 2021.
B. Sample collection for Pool-Water Chemistry (PWC):
- The wide mouth 1L amber coloured bottle for PWC should be clean, rinsed in distilled water, dried and sealed in polythene. No chemical additives in this bottle. Sterilisation is not essential. The bottle should be provided with a dark coloured carry bag and ice packs.
- Do not open the bottle until, ready to use.
- Rinse the PWC sampling bottle with pool water once before collecting sample.
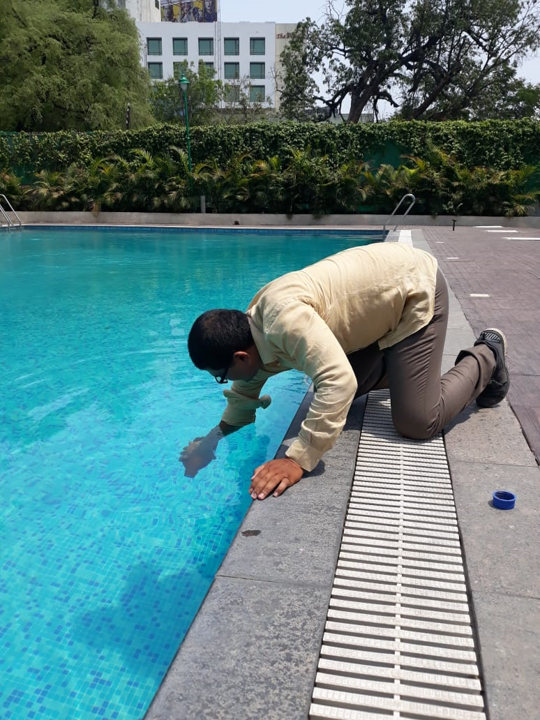
- Hold the bottom of sample bottle near its base at an angle of 45 and carefully remove the cap. Plunge the bottle into the water elbow-deep, then turn it right side up to collect the sample vertically into water approximately 8 inches (20 cm) below the water surface.
- Wipe of water from outside the bottle, wrap it with ice packs and place inside dark polythene bag. Place completed requisition form inside polythene and wrap it around the sample bottle with rubber band. Keep the sample bag away from sunlight.
- Deliver the sample to lab as soon as possible, preferably within six hours, and definitely not later than 24 hrs from time of collection.
C. Sample collection for Pool-water Bacteriological Monitoring (PWBM):
- 1. Use a wide mouth 250ml Sterile Bottle with Thiosulfate for swimming Pool water (SBTP). As swimming pools tend to have more than usual chlorine, quantity of sodium thiosulfate in this bottle should be sufficient to neutralise up to 10ppm chlorine.
- Do not rinse the bottle - rinsing removes sodium thiosulfate. Keep the bottle closed until it is to be filled
- Hold the bottle near the base and remove the cap from the bottle taking care not to touch the inside of the cap or mouth of the bottle. Be careful to protect the sterile cap and the bottle neck from contamination.
- In the preferred zone for microbial sample, find a clear spot to draw sample. If no such spot is available, create a clear zone by carefully placing bottom of sample bottle on water surface and moving it in a cyclical to motion to disperse floating debris, if any.
- Plunge the mouth of the bottle under the water surface, angled slightly downward, being careful not to let the sodium thiosulfate powder fall out. Fill by turning neck slightly upward and moving bottle slowly forward until filled.
- Lift the bottle up while keeping it away from touching anything. Discard some water so that bottle is filled to the neck. Carefully put the cap back on the bottle and screw it firmly, to avoid any leakage.
- Wipe of water from outside the bottle, wrap it with ice packs and place inside dark polythene bag. Place completed requisition form inside polythene and wrap it around the sample bottle with rubber band. Keep the sample bag away from sunlight.
- Deliver the sample to lab as soon as possible, preferably within six hours, and definitely not later than 24 hrs from time of collection.

To pick up sample collection bottle and/or schedule collection of samples: Email: ihslab@ihs.org.in with your address and contact telephone; OR WhatsApp: +919848011251; Or Call: 23211013/4.